The Truth About Top-Wrapping

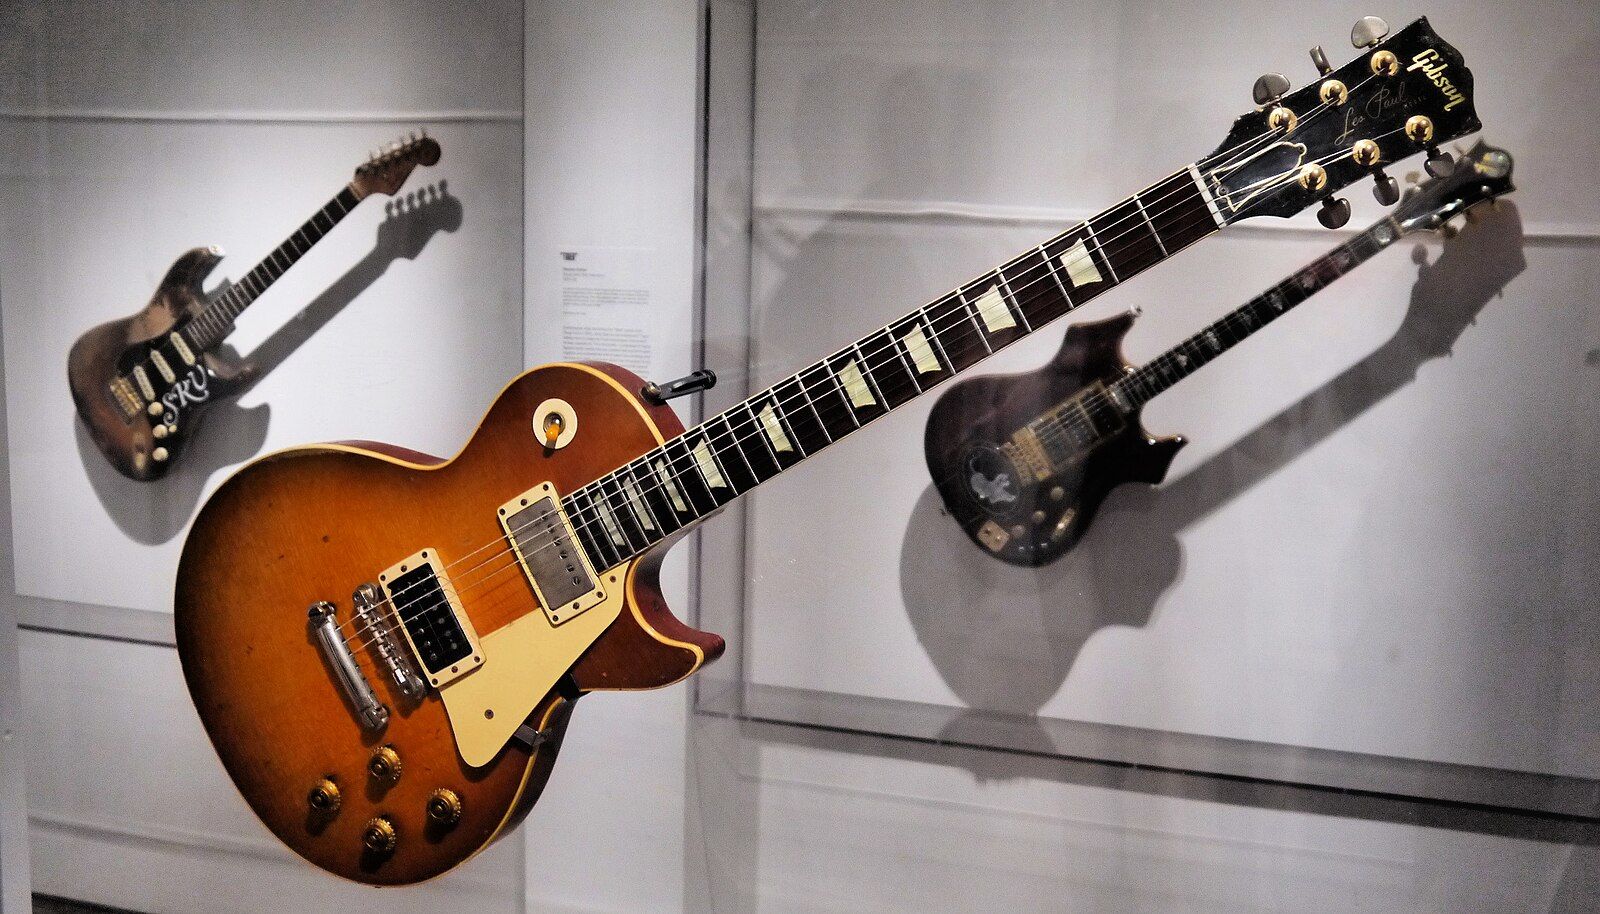
In the world of guitar setups, few topics ignite quite as much passionate debate as top-wrapping guitar strings on a Tune-o-Matic tailpiece. Some players swear by it, devotedly extolling its benefits. Others roll their eyes and wind up their Les Paul in the "traditional" fashion.
We pretty much think about guitar strings all day long, so we're ready to get down and dive into this debate... without taking sides.
This is the great Top-Wrap vs. No-Wrap Showdown, where tone chasers and traditionalists square off in a friendly duel for the ages.

Introducing the Tune-o-Matic® Tailpiece
The Tune-o-Matic bridge system was introduced by Gibson in 1954, first appearing on the Les Paul Custom model. Prior to this, Gibson guitars used wraparound tailpieces, where the strings wrapped over a single bar that combined the bridge and tailpiece functions.
The Tune-o-Matic was a major leap forward in adjustability in the way it separated the bridge from the tailpiece. The bridge (with individually adjustable saddles) handled intonation, and the stopbar tailpiece served to anchor the strings. This allowed precise adjustments to each string's vibrating length, allowing for perfect intonation on each and every setup.
Over the years, the Tune-o-Matic became the standard on many Gibson models, including the SG and ES-335. It remains the go-to for modern day Les Pauls. And while its original design falls into the "if it ain't broke, don't fix it" column, guitarists never stop tweaking in search of better tone.
Enter the Top-Wrappers.
What Exactly Is Top-Wrapping?
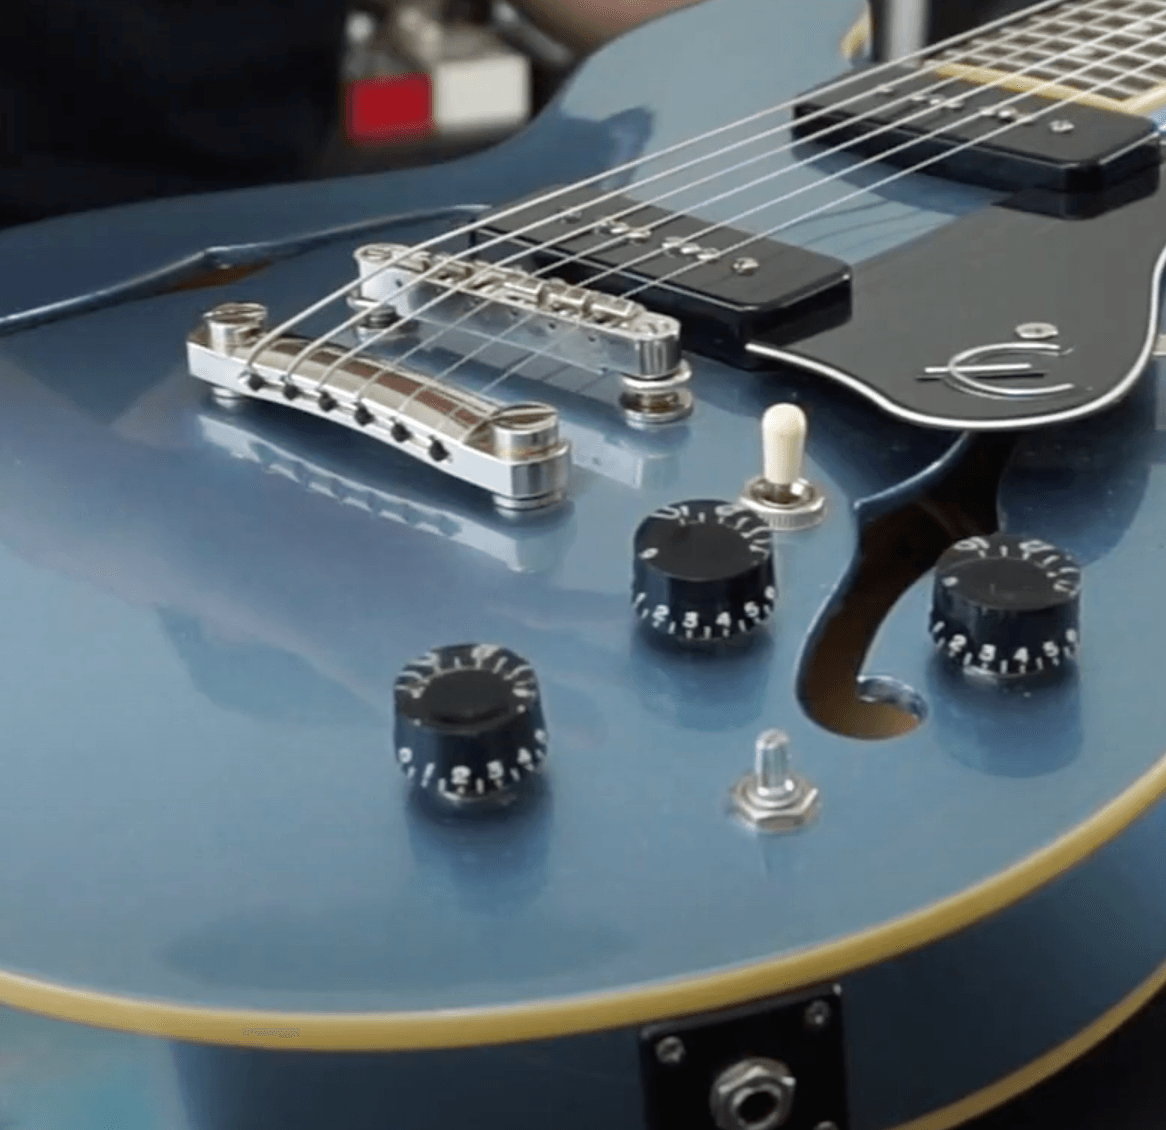
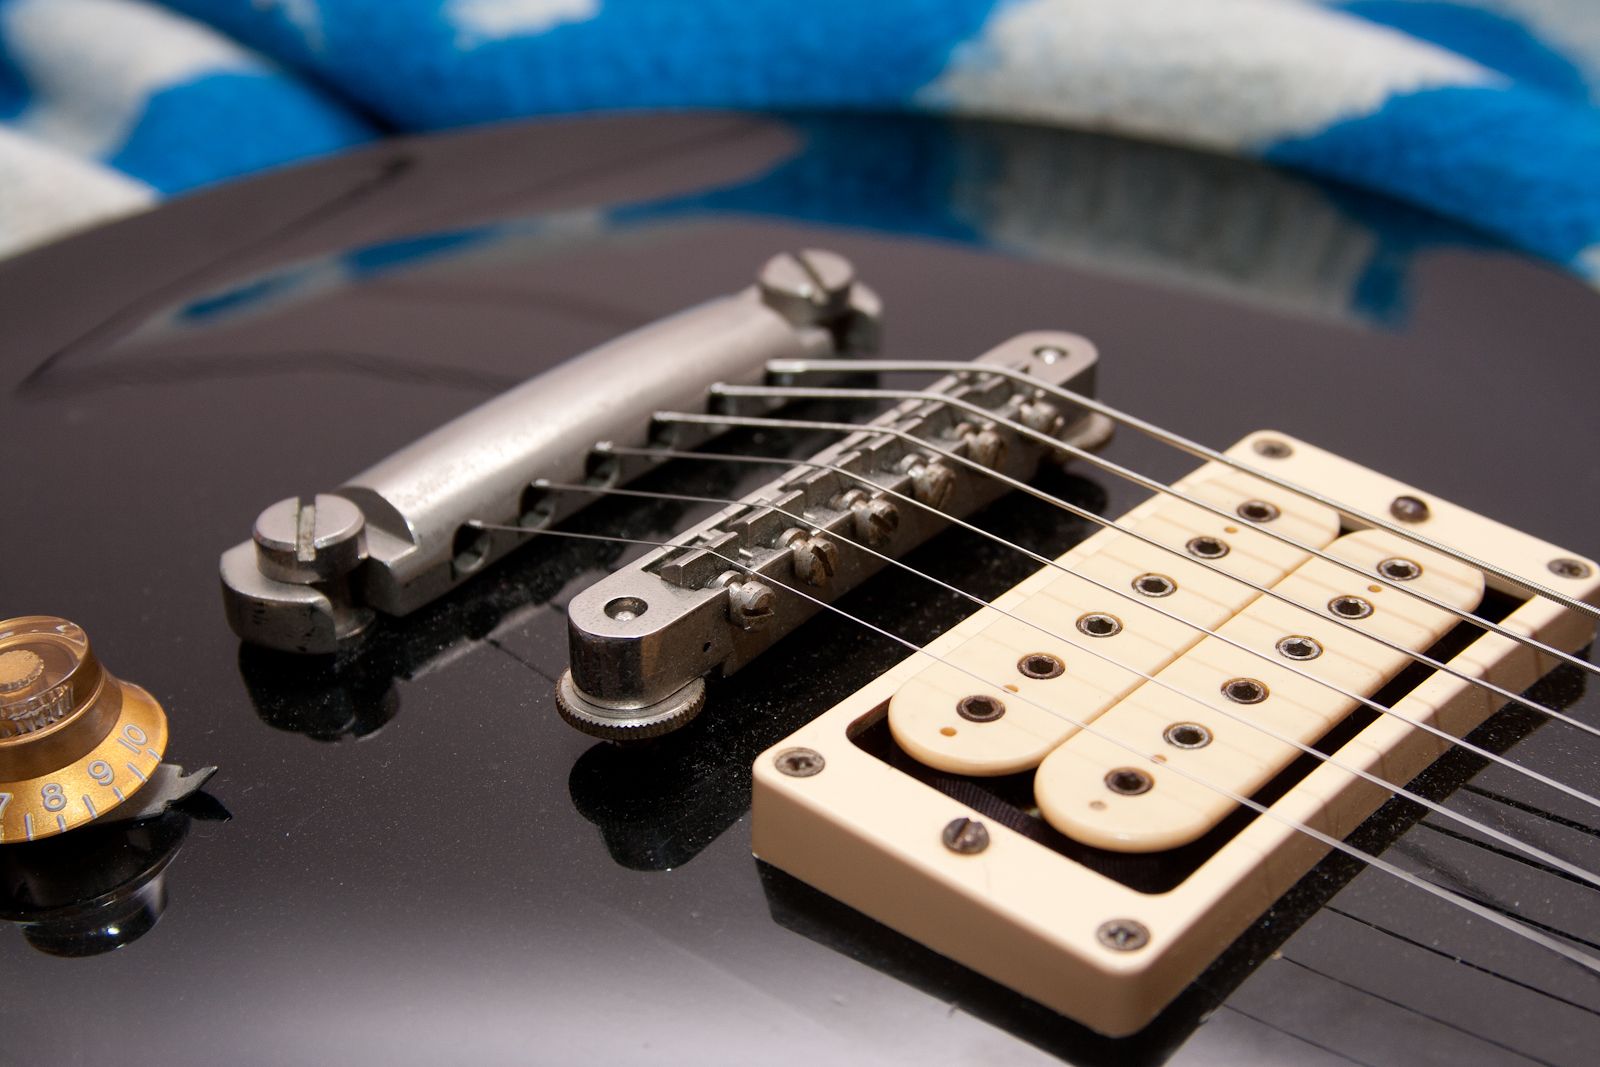
Normally, strings go through the stopbar tailpiece from the bridge side, over the saddles, and onward to the tuners. No muss, no fuss. Top-wrapping flips that script: strings are threaded from the front side of the tailpiece, then wrapped over the top of the stopbar before their travel to the bridge.
The result? The strings approach the bridge at a shallower angle, reducing their break angle over the saddles. Advocates say this changes tension and feel. Skeptics say "...yeah, sure."
A Brief History of Top-Wrapping
Top-wrapping likely started as an improvisation by players experimenting with string feel and break angle. There’s nothing like a patent or official launch—just anecdotal sightings, like a mythical creature caught on grainy film.
Some of the earliest high-profile players seen top-wrapping were blues-rock legends like Billy Gibbons of ZZ Top and Duane Allman of The Allman Brothers Band. Gibbons, famous for using ultra-light gauge strings, reportedly liked the slinkier feel top-wrapping gave him. Joe Bonamassa, a modern blues titan and gear connoisseur, is another often-seen top-wrapper.
As for Gibson itself? The company has never made any official statement declaring top-wrapping “right” or “wrong.” They just build the guitars, grab their popcorn, and watch the debate unfold.
The “Yes” Side: Why People Love Top-Wrapping
1. Softer Feel and Lower Tension
Top-wrappers argue that the reduced break angle creates a slinkier feel under the fingers, almost like dropping down half a string gauge. Bends become easier, vibrato is more natural, and your fretting hand feels happy.
2. Better Sustain (Maybe...)
Some claim the shallower break angle reduces downward force on the bridge, allowing the strings to resonate more freely. Whether this is scientifically provable or aural wishful thinking is debatable—but hey, if you hear more sustain, who’s to argue?
3. Reduced Saddle Wear
With less sharp downward pressure, the theory goes, the strings don’t grind as hard into the bridge saddles. This could theoretically extend saddle life and reduce breakage.
4. Aesthetics
This is subjective but fairly undeniable—top-wrapping just looks cool. The stark look of strings over stop-bar suggests a tense but solid marriage between strings and body, a visual cue that might inspire deeper connection between player and guitar. It also allows you to keep your stop-bar lower to the body - a look preferred by many - without dramatically increasing break-angle.
The “No” Side: Why Many Say “Skip It”
1. It Doesn’t Actually Change Tension
Physics nerds (and plenty of veteran techs) point out that string tension is determined by scale length, string mass, and pitch—not break angle. While the feel may change due to different compliance or perceived resistance, the tension math doesn’t lie. Top-wrapping won’t save you from that high E snapping if you tune it up to G.
2. Possible Tone Loss?
Some players feel top-wrapping reduces the downward pressure needed to fully couple the string’s vibration to the bridge and body. In their ears, this can make the guitar sound less punchy, less tight, or even “flubby.” Whether that’s real or placebo remains up for debate.
Top-Wrapped Faves
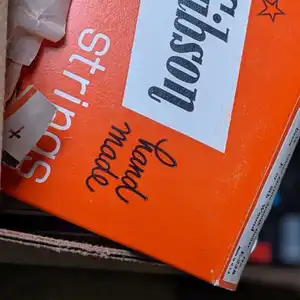
Whichever side of the Top-Wrapping Debate you fall on, these strings will make your Tune-O-Matic equipped axe happy.
3. Tailpiece Height Tradeoffs
If you want a shallow string angle without top-wrapping, you can simply raise the tailpiece. Top-wrapping just forces you into a similar geometry by other means. Skeptics ask: why make things weird when you can just twist a screw as the designers intended?
4. Risk of String Slippage
Because the strings don’t lock against the back of the tailpiece as firmly, and it doesn't have notches within which to seat your strings, they can shift when tuning or playing aggressively. This is rare, but if you’re the type who strums like you’re trying to chop down a tree, it’s worth noting.

The Final Verdict: If It Feels Good, Do It
In the end, the great top-wrap debate is less about hard science and more about personal preference. Guitarists are notorious for chasing microscopic tone changes, and sometimes that chase is half the fun.
If top-wrapping makes your guitar feel better, inspires you to play more, or just makes you grin when you look down at your bridge—do it. If it seems like nonsense and you’re happy with your tried-and-true stringing method—stick with it. There’s no wrong answer.
At the end of the day, your tone lives more in your fingers and your strings than it does in your tailpiece. Whether you’re a passionate top-wrapper or a proud traditionalist, do what feels right, play with great strings, and you can't go wrong.
Other Posts you may like

Guitar Strings Order: How the Guitar is Tuned and Why

Two Handed Tapping: Our Top 8 Tappers of All Time
Which Guitar Strings Wear Your Fret Wire Down More?
What is Nashville Tuning? Its History, Best Guitar Strings & Uses
Guitar Scale Length Explained: String Tension & Playability
What Guitar Strings I Used To Play...
0 Responses
Leave a Reply
Your email address will not be published. Required fields are marked *


